Sharpening on the Edge Pro Apex?
Did you always think that the sharpening of knives was not within your reach? Then try the Edge Pro Apex! The compact and user-friendly sharpening system ensures everyone to be able to sharpen his own knife. Small pocket knives, large kitchen knives: with the Edge Pro you will sharpen them all in a razor sharp condition.
How do you sharpen on the Edge Pro Apex?
The sharpening on an Edge Pro Apex sharpening system is relatively quick and simple. Below you will read a step-by-step explanation on how you will get your knife in a razor sharp condition again thanks to the Edge Pro.
Step 1: firmly place the Edge Pro Apex sharpening system in its position
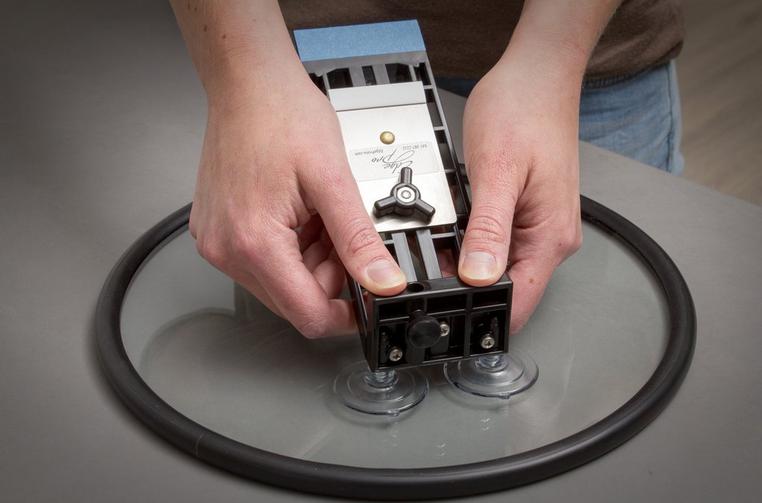
The mounting of the Edge Pro is child’s play. You fasten the sharpening system with suction cups onto a smooth surface. This could be your workbench but a loose glass- or baking plate works just as well. Moisten the surface a little bit so the suction cups remain better in place.
Step 2: determine the sharpening angle and adjust it
You can determine the sharpening angle of your knife in many different ways. Often the manufacturer will provide you with this information and there are general guidelines for different types of knives. You can also determine the angle yourself: use a permanent marker to place a line on the fold of the blade and carefully sharpen a small piece with the possible sharpening angle. The part of the line that disappeared shows if this angle is correct or maybe has to be bigger or smaller.
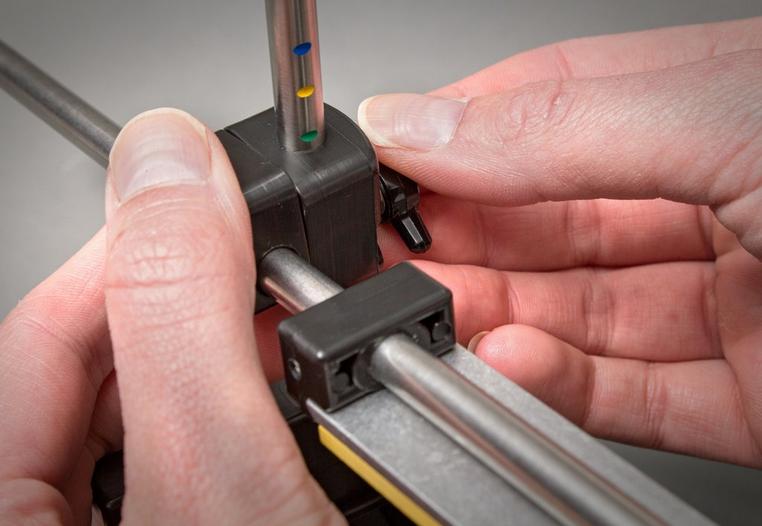
On the Edge Pro you set the sharpening angle by adjusting the conductor of the sharpening stone at the proper height. The coloured stripes on the conductor will help you with this. You have reached an angle of 15 degrees if the red stripe is slightly visible just above the black block that mounts the conductor. When you set the angle you will know for sure that you always sharpen under the correct angle. Useful to remember: the difference between each colour stripe is always 3 degrees.
Step 3: the placement of your knife
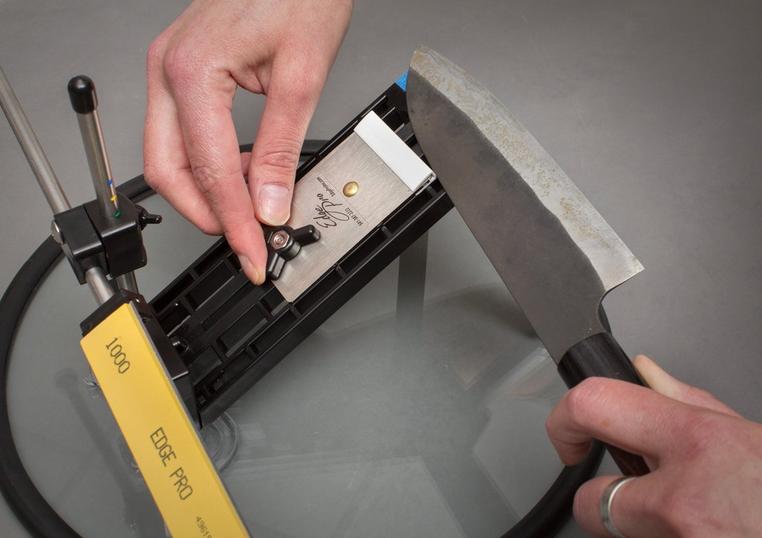
You place the knife against the aluminium support plate when you start the sharpening process of your knife. You adjust it in such a way that the cut of your knife is just about free. This way you will be able to reach the entire blade.
Step 4: sharpening your knife
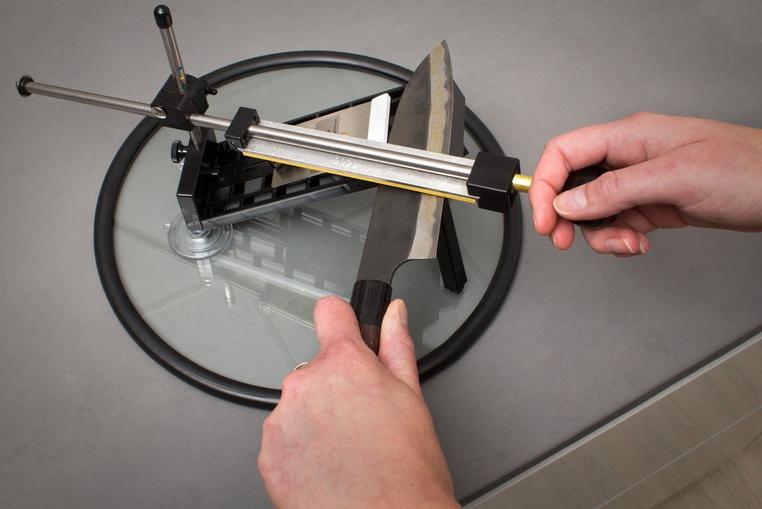
You can sharpen a small knife on the Edge Pro without moving it. A knife with a larger blade has to be moved along the support plate. However, because the knife is not clamped this goes quick and is very easy. Just like any sharpening method you will have to practice for a while but you will see that even your first knife will become razor sharp.
For most knives you will be able to start with grit 220. This may seem a bit coarse but can be compared to a Japanese Water Stone with grit 700. Most of the kitchen knives are sharpened until grit 320 or 600. Continue to grit 1200 or higher if you want to achieve a true razor sharp result.
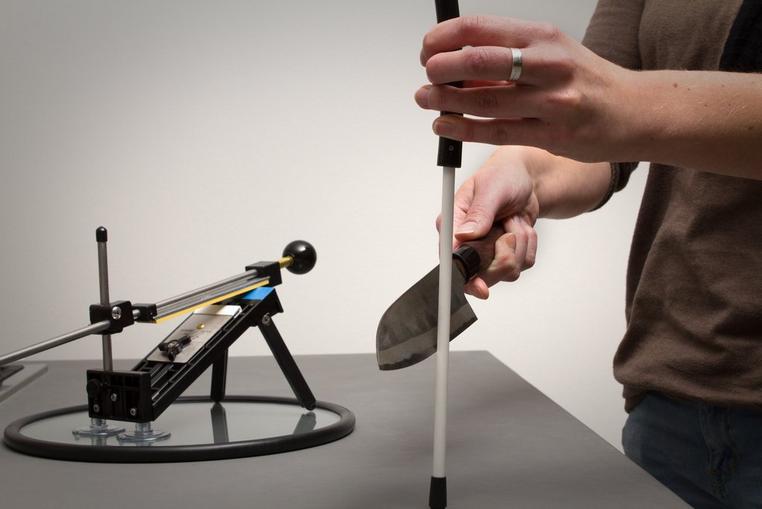
Step 5: make your cut sharper and stronger using the ceramic sharpening rod
To make the cut of your knife even sharper and stronger you slide the blade 10 to 15 times along the supplied sharpening rod. Keep a slightly larger angle but do not put any pressure on it. You can also use the sharpening rod in between the sharpening sessions to give your knife its sharpness back. Attention: the delivery of the Edge Pro Apex 1 does not include the sharpening rod.
Everybody sharpens his knives themselves with the Edge Pro Apex
As you could have read it is really simple to sharpen on the Edge Pro sharpening system. A professional sharpening result will become within reach for everybody. The practical video manual included in the delivery of most sharpening systems will also guide you step-by-step during the sharpening process. The Edge Pro proves it: sharpening does not have to be difficult at all!
